
Tiling can transform any space in your home, from backsplashes to bathrooms, but achieving professional results requires precision and careful planning. Whether you’re a DIY enthusiast or enlisting professional help, these expert strategies will help ensure your tiling project is smooth and successful.
Selecting the Perfect Tiles
Choosing the right tiles is the foundation of any great project. Consider the room’s purpose and environment. For high-moisture areas like bathrooms, opt for water-resistant tiles, while decorative materials can shine in backsplashes. High-traffic areas require durable options like porcelain or stone. Don’t overlook aesthetics—tile size, shape, and color dramatically influence the space’s overall vibe.
Planning the Layout
Preparation is key to avoiding costly mistakes. Before applying any adhesive, dry-fit your tiles to map out the layout. This step helps identify where cuts will be needed and ensures symmetry, especially in visible areas. Start at the room’s focal point and work outward to maintain a balanced design.
Cutting with Confidence
Invest in quality cutting tools for a professional finish. A tile cutter is excellent for straight edges, while tile nippers or a wet saw handle curves and intricate cuts. Always use safety gear and practice on spare tiles to perfect your technique before working on the final pieces.
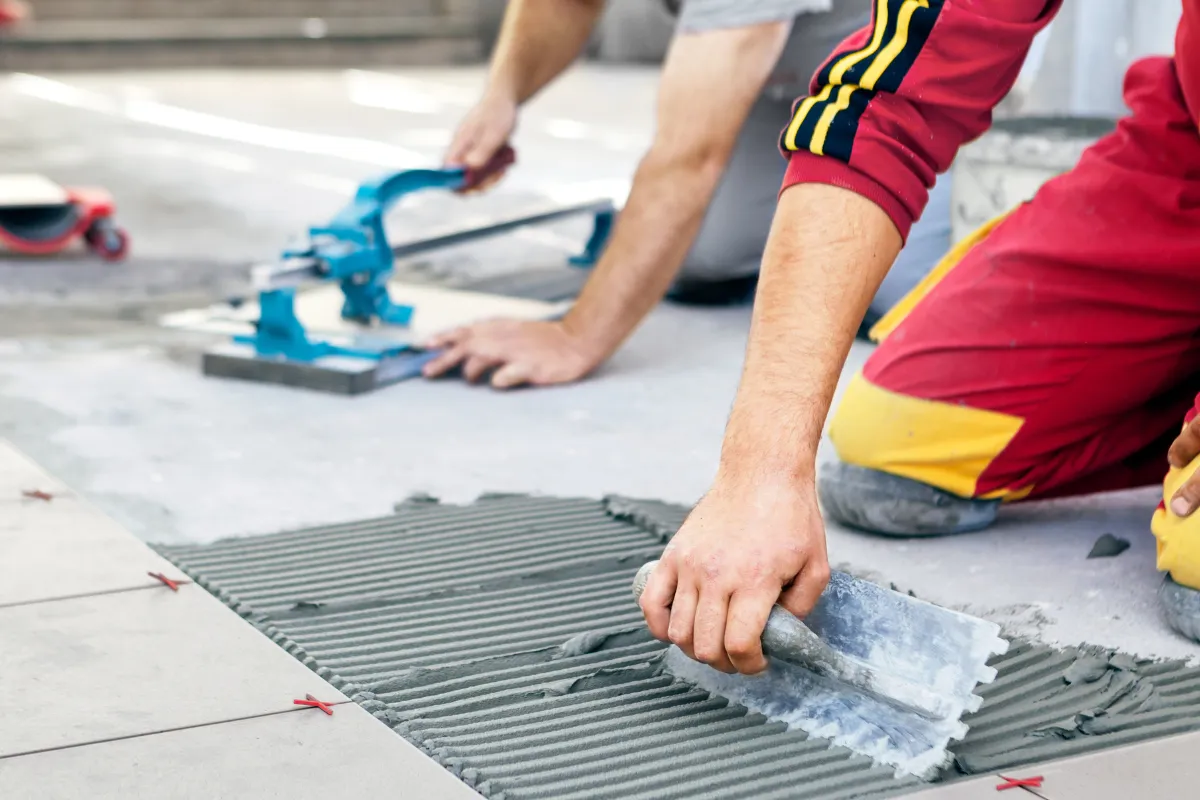
Mastering Adhesive Application
Proper adhesive application is critical for durability. Spread the adhesive evenly with a notched trowel, creating ridges that help the tiles bond securely. Work in small sections, applying only what you can cover in 10-15 minutes to prevent the adhesive from drying prematurely.
Precision in Tile Placement
Begin tiling at the center of your guideline to ensure symmetry. Firmly press each tile into place, using a slight twist to secure it in the adhesive. Regularly check for levelness using a spirit level, as uneven tiles can cause both aesthetic and functional issues.
Essential Finishing Touch: Sealing
Sealing is a must for protecting your tiles and grout, particularly in areas prone to moisture or spills. Sealant prevents water damage, stains, and mildew. Follow the manufacturer’s instructions for best results, and allow adequate curing time before using the tiled area.
Long-Term Care and Maintenance
Keeping your tiles looking their best requires regular care. Use gentle cleaning agents suitable for your tile material to avoid damage. Grout and sealants should be reapplied periodically to maintain their protective qualities and ensure your tiles remain fresh and durable.
Final Thoughts
Tiling projects can be incredibly rewarding when executed with care and precision. From selecting the perfect tiles to proper installation and maintenance, attention to detail is essential at every step. If the task feels overwhelming, don’t hesitate to seek professional help—ensuring a flawless result is always worth the investment.